So what do you do on a long weekend? If you’re anything like me, you find a new and fun project to dedicate part of your time to while your family is home spending a little extra quality time together. For me, this Fourth of July break, it was working with duck tape. I was inspired by a fellow crafter on YouTube who made some really beautiful creations using mostly only duck tape. It made me want to take a jab at the concept too. Before making this clutch with duck tape, fabric and staples, I made a messenger bag for Edgar, smaller makeup bags for myself, and a couple of larger totes as gifts for family. Those were all prototypes. They helped me pick up a few techniques and get more comfortable with crafting something a little more specific.
 As soon as I saw this fabric I knew I had to make something fun and functional with it. A clutch is perfect for many occasions and it is also a great conversation starter.
 These are the supplies you will need. Duck tape comes in so many colors and designs you can be as creative as you want to with this project. Remember the duck tape you select will end up being the inner lining of your clutch.
 Look at the detail of my fabric. I’m a huge cat lover! Always have been since I was a little girl.
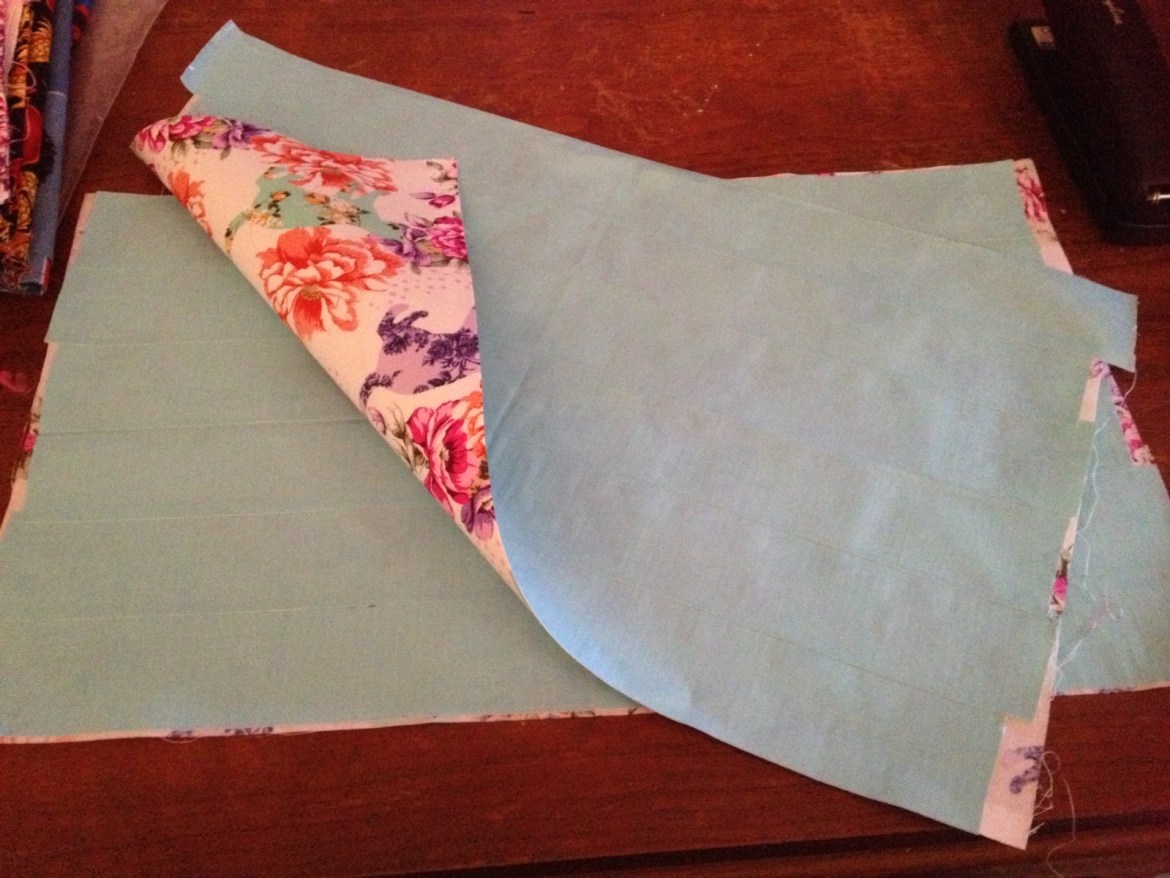
 As you can see, the concept is pretty simple, you will use your duck tape to cover the two pieces of fabric, that will be the two sides of your clutch, on one side. Depending on the size of your clutch you will cut two pieces of fabric of equal size. Mine are 18″x20″.
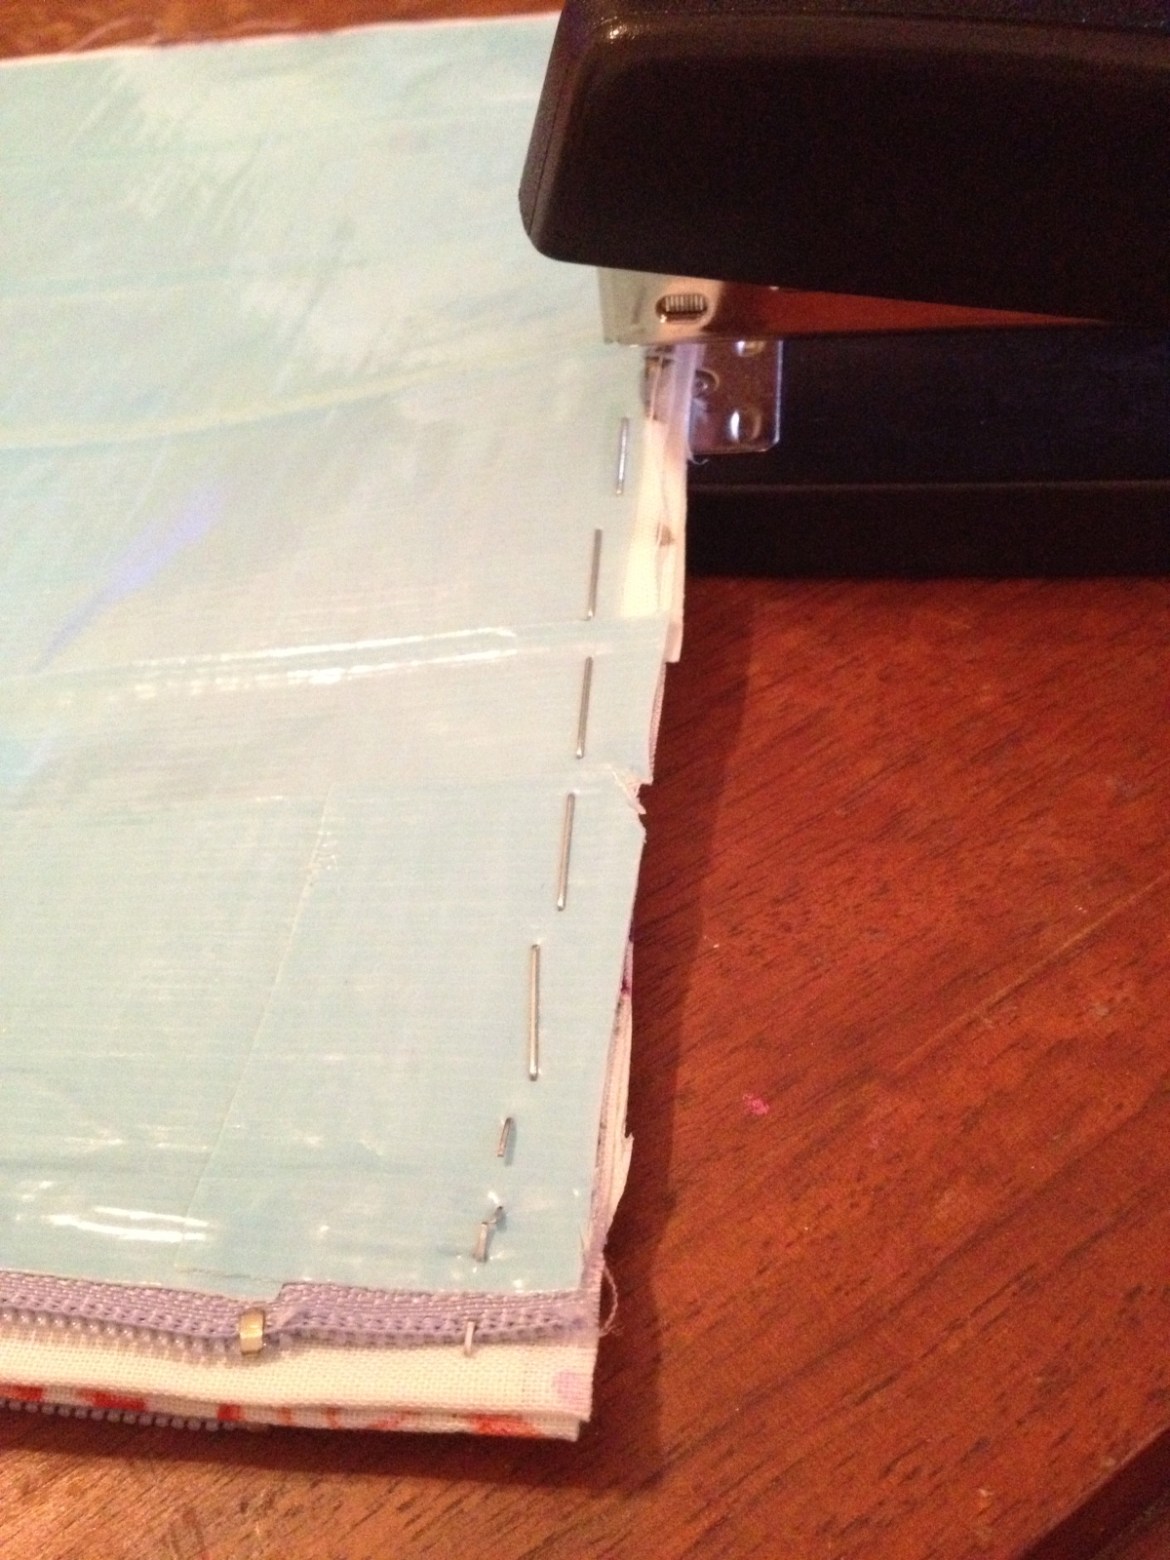
 Now you will take a zipper and attach it to both sides of your duck-taped fabric using a stapler. You’ll need plenty of staples so it’s a good idea to stock up on them before you get started.
 Once you’ve stapled your zipper on both sides. Add some more duck tape along the hardware of your zipper and above the staples.
 Next you will staple all three remaining sides of your clutch together, leaving only the end with the zipper on it open. Use duck tape to cover the staples on each side.
 Now take the two ends opposite your zipper at the bottom of your clutch and pinch them together, then staple them. You will then fold the triangular pinched area that you just stapled on either side inward and secure it with duck tape. These will be the bottom corners of your inner lining.
 Turn your clutch inside out and viola! The beautiful fabric of your choice is now a gorgeous and very stylish clutch!
If you have any questions while attempting to make this project on your own, please feel free to let me know. I would be happy to walk you through any kinks. Oh, and by the way, these fun duck tape projects can be pretty addicting.
Next on my list are backpacks!

2 thoughts on “Crafting with Anjelica: How To Make a Stylish Clutch Out of Fabric & Duck Tape”
I want to see the other stuff you made. Post pictures!!! Thanks.
hey what a coinky dink I started doing duct tape crafts too! I’ve so far made a tote bag and a lanyard, I’ve tried weaving the tape but that’s too complicated haha! so I gave up. I found a couple basic colors at the dollar store (red, blue black) and Office Max had their duct tape buy 2 get 1 free so I got other colors and patterns there.
I really liked the clutch! I never thought of using fabric with the duct tape, and staples are way easier than lugging out my sewing machine. Great ideas!